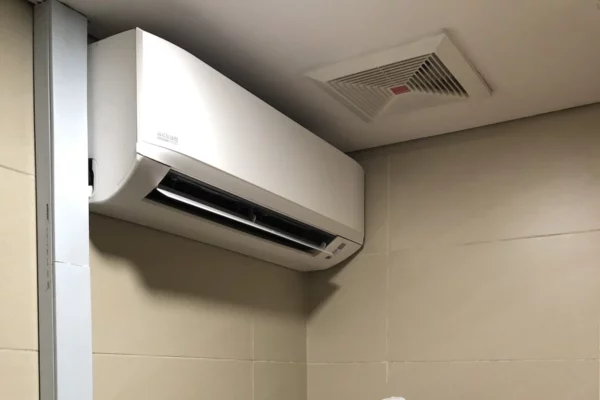
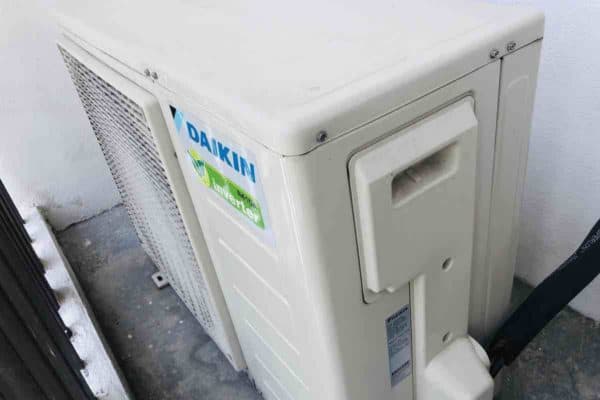
How to Select a Mini Split System? (8 Steps)
Mini splits are getting popular nowadays. Many people want to install a mini split system in their house due to its superior energy efficiency. However, they are not familiar with the system. So, I decided to provide a full guide on how to select a mini split system.
I’ve been working in the HVAC industry for more than 7 years as a professional. Thus, I’ve been through the process of design, select, purchase, install and maintenance of the mini split system multiple times.
A mini split may look simple but when you actually want to buy one, you’ll find that it is more complicated than you initially thought. So, let’s go through a step-by-step process on how to select a mini split system.
1. Check Your Climate Zone
The performance of mini splits is depending on the outdoor temperature. If you’re living in a cold climate place, you need to select a mini split that is able to provide adequate heating at low ambient temperatures.
The heating capacity of a mini split is rated at a standard 47°F outdoor temperature. In addition, for low ambient heating, the mini split has a rated heating capacity at 17°F outdoor temperature.
So, if you think that the outdoor temperature in your place can go below 17°F, you need to look for a mini split that has a sufficient heating capacity at a specific outdoor temperature.
Below is the common outdoor temperature at which a mini split can operate:
- 47°F (8°C)
- 17°F (-8°C)
- 5°F (-15°C)
- 0°F (-18°C)
- -5°F (-21°C)
- -13°F (-25°C)
- -22°F (-30°C)
You can check on Wikipedia or other weather websites to see the average outdoor temperature at different months.
Based on your climate zone, you’ll need to select a mini split that can do well at a specific outdoor temperature, especially for heating.
2. Identify the Room that Requires Heating & Cooling
Mini splits are sized based on a room-by-room basis instead of taking the floor area of the entire house. So, you need to identify which room requires both heating and cooling or just heating or just cooling.
The majority of mini splits can do both heating and cooling. They are known as mini split heat pumps. On the other hand, there is a handful of mini splits that just do cooling only and they are known as mini split air conditioners.
In hot and humid countries like Malaysia and Singapore, mini splits are better known as split air conditioners. Heating is not required and thus, mini split heat pumps are absent.
Below is a list of rooms that commonly need heating and cooling:
- Bedroom
- Living Room
- Kitchen
- Dining Room
- Study Room
- Garage
- Sunroom
- Basement (Workshop)
Conventionally, toilets (bathrooms) do not need cooling. However, some people prefer to have heating in the toilet. If that’s the case, include the toilet in the list.
3. Calculate the Capacity Needed
The capacity (heating & cooling) of a mini split can be calculated using the rule of thumb anywhere in between 20-30 BTU per square foot for insulated houses and 40-60 BTU per square foot for uninsulated houses.
Once you’ve identified the room that requires heating and cooling, calculate the floor area of the room in square footage (multiply square meter by 10.76 to convert it into square feet).
Afterward, multiple the square footage of each room by the rule of thumb to calculate the capacity needed for adequate heating and cooling.
For instance, if your room has a floor area of 150 sqft, the capacity needed can be calculated as follow:
Capacity Needed = Floor Area x Rule of Thumb
Capacity Needed = 150 sqft x 30 BTU per sqft
Capacity Needed = 4500 BTU
The resulted number should be expressed in BTU (British Thermal Unit) which is a widely used unit of measurement for the capacity of mini splits.
If the mini splits sold in your place has the capacity stated in a unit other than BTU, convert your result as per the method stated in my article BTU to HP | BTU to Ton | BTU to kW | Conversion Tables.
Once you’ve calculated the BTU needed for each room, change the BTU into the standard BTU available in mini splits. Here are the common capacity of mini splits:
- 6,000 BTU
- 9,000 BTU
- 12,000 BTU
- 18,000 BTU
- 24,000 BTU
- 30,000 BTU
- 36,000 BTU
If the capacity needed for your room is 4500 BTU, don’t worry about selecting a mini split with 6000 BTU because the mini split can ramp down to match the actual capacity needed.
If you’re not sure if you’re doing it right, read my article Mini Split Sizing Guide: How-to, Chart & Example.
4. Identify the Number of Mini Split Required
A mini split typically can only throw air as far as about 25-30 ft. If your room is longer than that, it is recommended that you use two smaller-capacity mini splits instead of one.
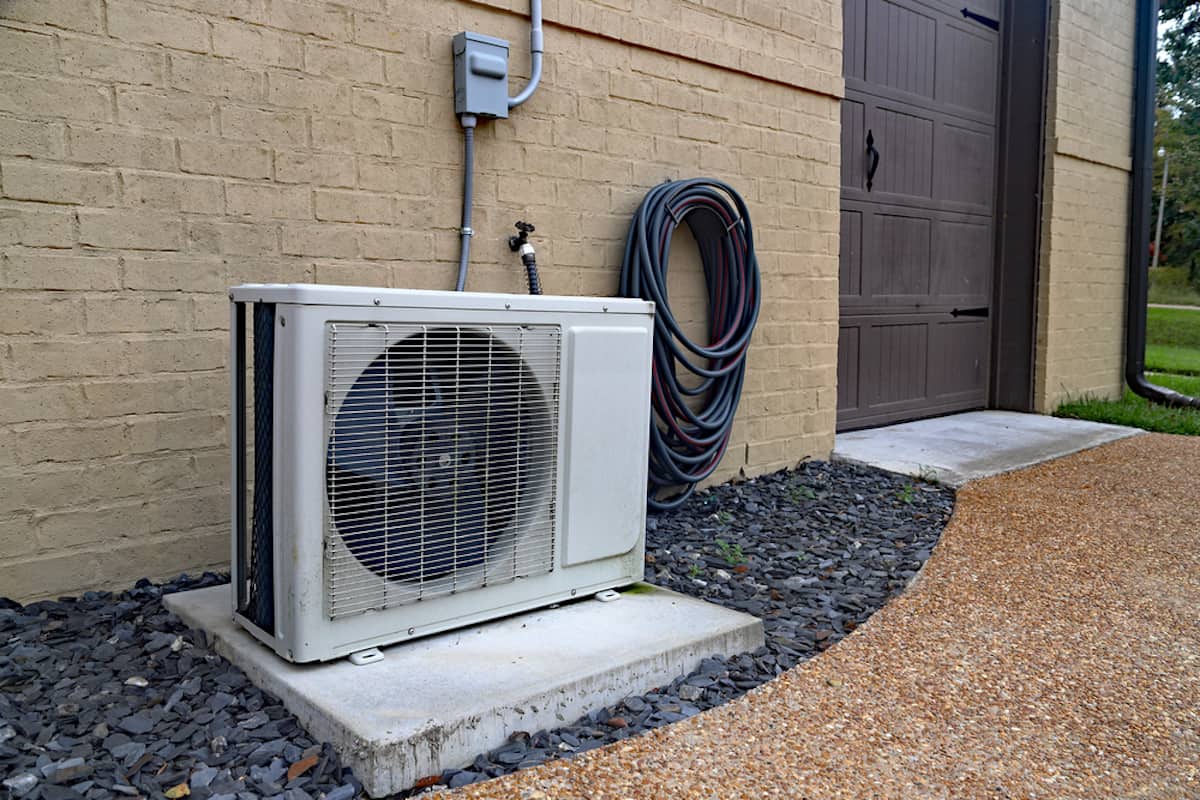
You’ll need a mini split in every room. However, if you want to reduce the total mini split quantity, you may choose a different type of mini split indoor unit.
Typically, a 3-bedroom house will have about 5-6 numbers of mini splits. However, this number can be reduced by using a different type of mini split system.
The installation and maintenance cost of mini splits is directly proportional to the number of mini splits. The more mini splits you have in your house, the higher the installation cost and the subsequent maintenance cost.
For each mini split, the following work needs to be done:
| Mini Split Components | Function |
|---|---|
| A pair of insulated refrigerant pipes | Transfer refrigerant between the indoor and outdoor unit |
| An insulated drain pipe | Discharge condensate water at the indoor unit |
| A set of wires | Power supply and the communication between the indoor and outdoor unit |
| An A/C switch (optional) | Cut off the power of the indoor unit |
| A drain pipe for the outdoor unit (optional) | Discharge condensate water when heating |
| Mounting bracket and rubber pads for the outdoor unit (optional) | Support and vibration reduction |
Hence, reducing the number of mini splits will reduce the overall cost of ownership. However, other factors such as the type of system and indoor unit type must be considered.
5. Determine the Type of Mini Split System Needed
There are two types of mini split systems; a) single-zone and b) multi-zone.
A single-zone mini split consists of one indoor unit and one outdoor unit. Meanwhile, a multi-zone mini split can connect one outdoor unit to 2-5 indoor units.
Generally, single-zone mini splits are more energy-efficient and less expensive to purchase than multi-zone mini splits. However, single-zone mini splits are more expensive to install.
Not to confuse, when you have a single-zone mini split in each room, you still can control the temperature of each room independently.
Apart from that, the only difference between the single-zone mini split system and the multi-zone mini split system is the amount of space required.
If you don’t wish to see 5-6 outdoor units outside your house or you don’t have the space for that, you can go for the multi-zone mini split system.
6. Choose the Type of Mini Split Indoor Unit
There are a few types of indoor units you can choose for a mini split. Below is the common type of mini split indoor unit:
- Wall Mounted (Ductless)
- Floor Mounted / Ceiling Suspended (Ductless)
- Ceiling Cassette (Ductless)
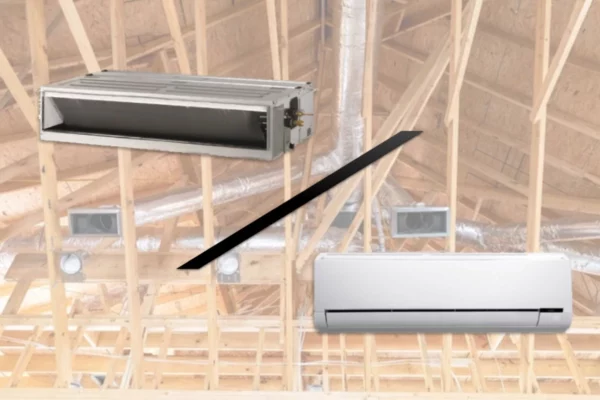
- Ceiling Ducted / Ceiling Conceal (Ducted)
- Floor Standing (Ductless)
Learn more about each type of mini split indoor unit from my article 5 Types of Mini Split Indoor Units.
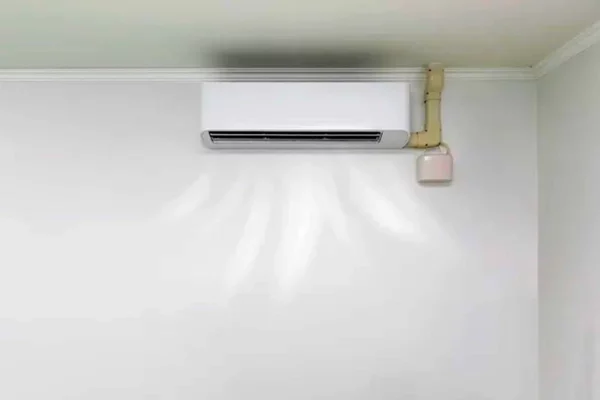
By default, mini splits use the wall-mounted indoor unit that doesn’t need to be connected to a duct. The wall-mounted type of mini splits also has the best energy efficiency followed by the floor-mounted type, the ceiling cassette type, the ceiling ducted type and lastly, the floor-standing type.
The wall-mounted type, the floor-mounted type and the floor-standing type are only able to deliver air in a single direction, making them more suitable for long and rectangular rooms.
Medium-sized square rooms are more suitable for the ceiling cassette type as it delivers air in four directions. Then, the ceiling ducted type is just like the central air conditioner that uses ductwork to deliver air as you wish.
However, ceiling ducted mini splits don’t have the same strength as 3-ton central air conditioners (for example) to push the air through the entire house.
In terms of the cost, the wall-mounted type is the cheapest one followed by the floor-mounted type and the ceiling cassette type. The ceiling ducted type is the most expensive one.
However, the ceiling ducted type of mini split indoor unit can help you reduce the total quantity of mini split indoor units required which may in turn save you more cost or balance it out.
7. Choose the Mini Split Brand
There are many mini split brands on the market. Only a handful of brands manufacture their own mini splits while others rely on OEMs (original equipment manufacturers) to produce their mini splits and sell them as a different brand which is a very common practice.
When it comes to mini splits, the following international brands are reputable:
- Daikin
- Panasonic
- Mitsubishi
- Fujitsu
- LG
- Gree
Most of the time, mini splits from these international brands are slightly more expensive but last longer and perform better in terms of energy efficiency and temperature control.
Other brands such as Midea, Haier, Toshiba, Sharp, Senville, MrCool and Pioneer have good quality mini splits too. Their mini splits are usually less efficient but cheaper.
Among international mini split brands, Panasonic and Mitsubishi are known to be more expensive followed by Fujitsu, Daikin, LG and Gree.
8. Select the Mini Split Model
Every mini split brand has plenty of models to choose from. Typically, a mini split brochure starts with the flagship model which can be marketed as either the most efficient or the best for low ambient heating.
Normally, the flagship model has the best balance between performance and price.
Most mini split brands (especially international brands) have the following model lineup:
- The flagship model (wall mounted type)
- The low ambient heating model (wall mounted type)
- The high energy efficiency model (wall mounted type)
- The extra high capacity wall mounted model (over 24k BTU)
- The budget model (wall mounted type)
- The ceiling cassette model
- The floor mounted model
- The ceiling ducted model
- The floor standing model
- The multi-zone model
The budget model is usually the standard model with standard features. If you need features like low ambient heating and high energy efficiency, expect to pay more.
The majority of the mini split model is the single-zone system with the wall-mounted type of indoor unit. From there, you can choose between high energy efficiency, excellent heating performance or low price, depending on your priority.
International brands mentioned earlier have more models to choose from. They have a better lineup of mini splits to tackle different needs. Whereas for cheaper mini splits, they usually focus on low price.
Among all mini split models, there is a handful of them powered by 110V while most of them are powered by 230V. Mini splits that use 110V are usually less efficient.
Mini splits lose their heating capacity as the ambient temperature drops. If you want a mini split that does well in low ambient heating, you need to refer to either the submittal data, engineering manual or service manual of the mini split to check its heating capacity at a specific outdoor temperature.
Here is an example of the submittal data:
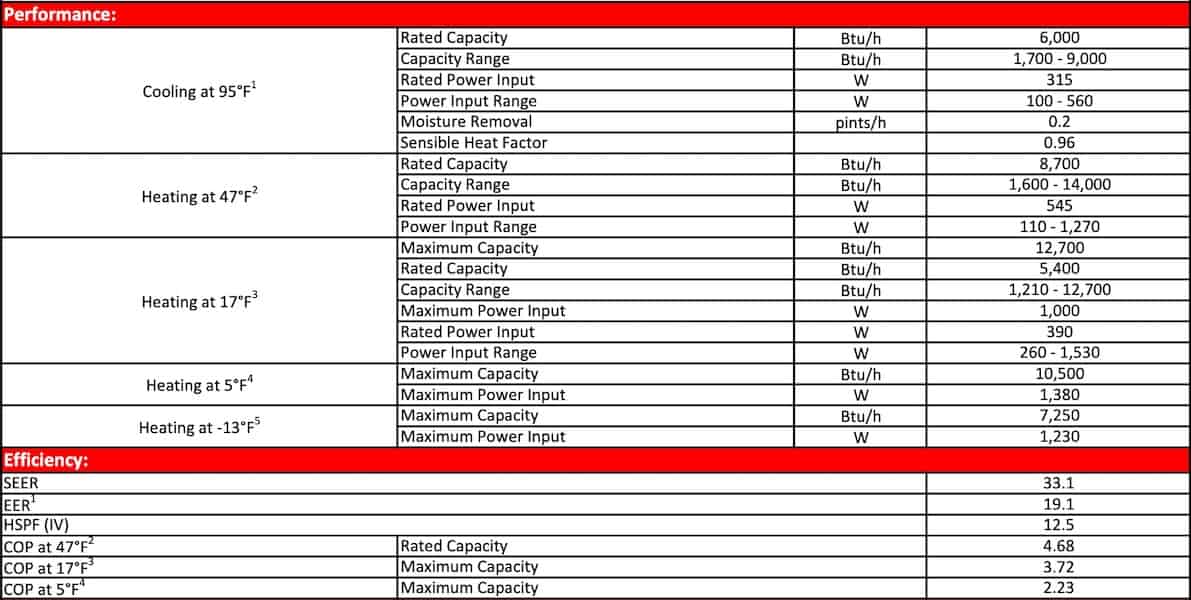
From the above submittal data, you can check the actual heating capacity at a specific outdoor temperature. For example, the Mitsubishi MSZ-FS06NA mini split has a maximum heating capacity of 14000 BTU at 47°F outdoor temperature. However, at 5°F outdoor temperature, its maximum heating capacity is only 10500 BTU.
Learn how to read the specification of air conditioners from my article How to Read Air Conditioner Specifications.
Mini splits that are not designed for low ambient heating can drop as much as 50% of their rated heating capacity when the ambient temperature approaches 0°F.
There you have it. The 8 steps to select a mini split system.
Since I’ve compared more than 300 mini splits, if you want to see how I rank them by different applications, check out the following articles:
- 7 Best Ductless Mini Split Air Conditioners
- 11 Best Mini Splits for Heating (Cold Climate Models)
- Most Efficient Mini Splits: Cooling, Heating & Different Types
- 9 Smallest Mini Splits with the Lowest BTU (Cooling & Heating)
Once you’ve selected the mini split, the next step is to decide where to put the mini split. For that, see my article Best Place to Put the Mini Split Air Handler and Condenser.
Learn more about mini splits in general from my Mini Split Achieve.
Lastly, consider my Mini Split (eBook) if you want to know how can you use Mini Split in your house. If you still have doubt or not feeling confident enough, feel free to consult me.
Consultation Service
Ask me for HVAC advice such as brand selection, best model, benefits, features, placement, duct size, grille size, how to design, design check, verification and other HVAC related queries.
If you have anything to add (or ask) about this topic, leave a comment down below!


