RV Mini Split Air Conditioning Guide (Best 5 for RVs)
Mini splits are more efficient and quieter than RV ACs. However, installing a mini split in an RV requires some extent of understanding of how a mini split works. So, I decided to post a guide for anyone who is thinking of using a mini split in their RV.
First of all, a mini split can be used to heat and cool a recreation vehicle (RV). Technically, it is feasible to install a mini split in an RV. However, minor modifications to the RV may be required to accommodate the mini split.
The installation of a mini split in an RV is different from a residential house. There are a few important things to take note of when selecting and installing a mini split in your RV.
How to Select the Right Mini Split for Your RV?
There are a lot of mini splits on the market. RVs are not the same as residential houses. When selecting a mini split for your RV, a few important things must be considered.
Mini Split Power Requirement
Mini splits come with two voltages; 115V and 230V. For RVs, a mini split powered by 115V is more practical because it allows you to park and plug in at all RV parks.
In addition, a 115V mini split can be powered by solar panels which further reduce your energy cost.
Depending on the energy efficiency, a 9000 BTU mini split typically consumes about 400-600 W when stabilized. At the start, the mini split may draw up to 800W which is about 7 amp for an 115V model. Then, the amperage is mostly hovering between 3.5A and 5.5A.
The good thing is manufacturers always provide an installation manual that includes the power requirement and recommended cable and breaker sizes for their mini splits.
A mini split has one indoor unit and one outdoor unit. Both units are connected by two refrigerant pipes (liquid & gas), one set single-phase power cable (live-neutral-earth) and an extra signal cable for the inverter model.
Mini Split Capacity
Mini splits that use 115V are available in 6000 BTU, 9000 BTU and 12000 BTU. In most cases, one of these mini splits is sufficient for your RV.
For RVs, I recommend using 35-40 BTU per square foot to size the mini split. Normally, a mini split is sized based on 20-30 BTU per square foot but this is for well-insulated houses.
RVs don’t have the same insulation grade as a residential house. Hence, you’ll need a slightly bigger mini split to be able to heat and cool your RV adequately. For instance, a 250 sqft RV will need a 9000 BTU mini split.
If you have a larger RV, you can use a 12000 BTU mini splits. Contrarily, you can use one 6000 BTU mini split if you have a more compact RV.
Going up or down one size is not much of a problem for mini splits because they have an inverter or variable-speed compressor which allows them to regulate their capacity and keep your RV at a consistent temperature.
If there is not much heat to be removed, the mini split will simply run at a lower capacity (and draw less power).
Unlike an RV air conditioner that only do start or stop, your mini split will run at full power at first to cool your RV quickly. Then, it’ll gradually reduce its power (and so does the noise) to save energy.
Mini Split Operating Limitations
Mini splits are officially rated at a fixed operating condition. Meaning the capacity, power consumption and efficiency of a mini split are based on a certain indoor and outdoor temperature.
The standard operating condition of a mini split is known as AHRI rated condition and the condition is as follows:
Cool Mode
- Indoor temp.: 80°F (27°C)
- Outdoor temp.: 95°F (35°C)
Heat Mode
- Indoor temp.: 70°F (21°C)
- Outdoor temp.: 47°F (8°C)
- Outdoor temp.: 17°F (-8°C)
So, if the outdoor temperature is 95°F (35°C), a mini split that can bring the indoor temperature down to 80°F (27°C) is a full 9000 BTU unit. If the indoor temperature is set at 75°F (24°C), the actual BTU of the mini split is slightly lower (eg: 8500 BTU).
That’s usually not a problem at all. But, the real concern here is when you want to use a mini split to heat your RV.
Most mini splits stop working when the outdoor temperature drop to around 5°F (-15°C). That’s not a big issue because you’ll avoid the cold anyway. But, the problem is as the outdoor temperature drops, the heating capacity of the mini split drops as well, which may lead to insufficient heating.
Therefore, if you want the mini split to perform well in cold climates, you’ll need to choose a mini split with a good low ambient heating performance (see below listed mini splits).
Mini Split Brand
There are easily more than 15 mini split brands on the market. Some of them are more expensive because they use better materials and have better control mechanisms.
Generally, the Japanese brands have the best quality but they’re also the most expensive. Some of the cheaper brands may not perform as well but they are much more affordable.
Nonetheless, most mini splits will perform as they intended. Premium mini splits offer more features such as better air filtration grade, higher efficiency and better looking. However, some of the advantages of premium mini splits may not be applicable when used in an RV.
Mini Split Efficiency
A mini split is much more energy efficient than an RV air conditioner. A standard mini split has a SEER rating of around 20 while a typical RV air conditioner is around 10 SEER. Hence, it could reduce your RV energy usage for air conditioning by as much as 50%.
The reason why a mini split is so much more energy efficient has something to do with its form factor.
Compact air conditioners are generally not efficient because they’re not allowing more space within themselves for efficient heat transfer. Mini splits consist of two separate units. Together, they have more contact surfaces for efficient heat transfer.
High-efficient mini splits can go up to 30 SEER but they cost a lot more at the same time.
By the way, if you want to learn more about mini split especially how to design it for your house, consider my Mini Split (eBook). You’ll learn what is Mini Split, how to choose and more importantly, spark more design ideas to improve the energy efficient of your house. But, if you need a second opinion or want someone to help you design, then you can consider my consultation service.
Consultation Service
Ask me for HVAC advice such as brand selection, best model, benefits, features, placement, duct size, grille size, how to design, design check, verification and other HVAC related queries.
5 Best Mini Splits for RVs
After the above criteria, I’ve shortlisted a few mini splits that are suitable to be installed in an RV. Here are my top 5 mini splits for RVs:
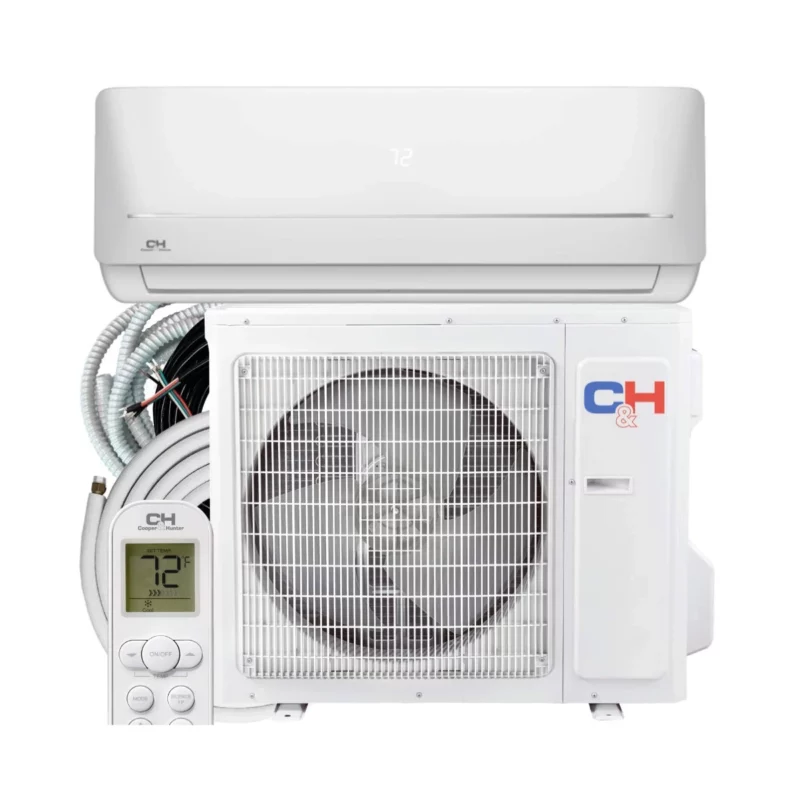
Cooper&Hunter MIA
Capacity (115V): 6k, 9k, 12k
Efficiency: 21.5 SEER (Good)
Price Range: $700-850
Why Choose This: 6k BTU for compact RVs
Cooper&Hunter MIA series 6k, 9k and 12k BTU powered by 115V is a good balance between efficiency and price. It is one of the very few mini split brands that offer the smallest BTU which is 6k. Hence, this is a good mini split to consider if you have a compact RV.
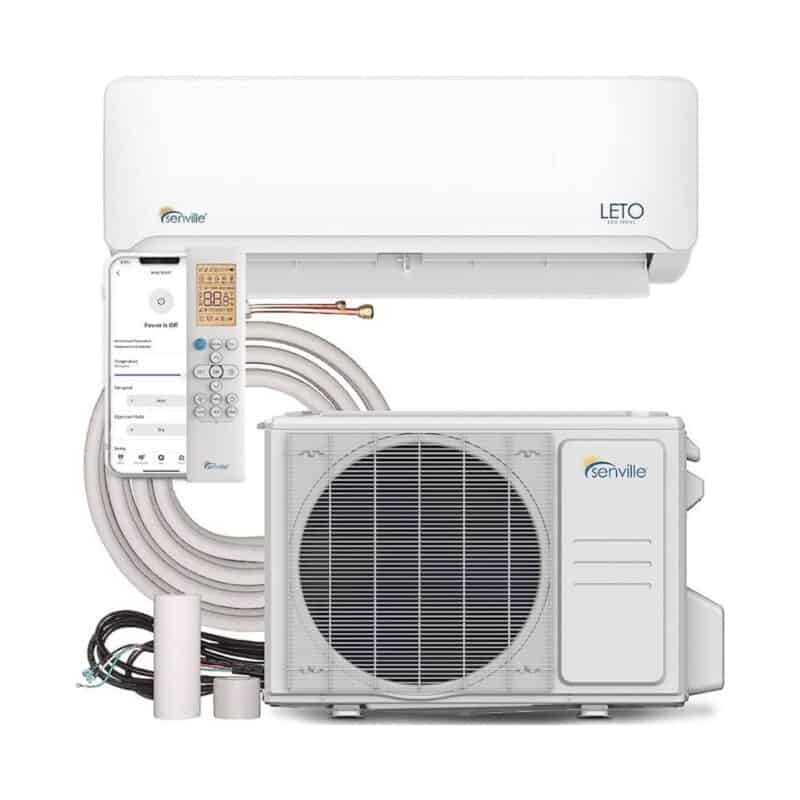
Senville LETO
Capacity (115V): 9k, 12k
Efficiency: 21.5 SEER (Good)
Price Range: $750-850
Why Choose This: Smallest indoor unit
Senville LETO series 9k and 12k BTU powered by 115V is some of the smallest mini splits on the market in terms of the indoor unit physical dimension. It is also one of the most popular mini splits sold today. If you don’t have much space in your RV, this might be a good choice.
ROVSUN
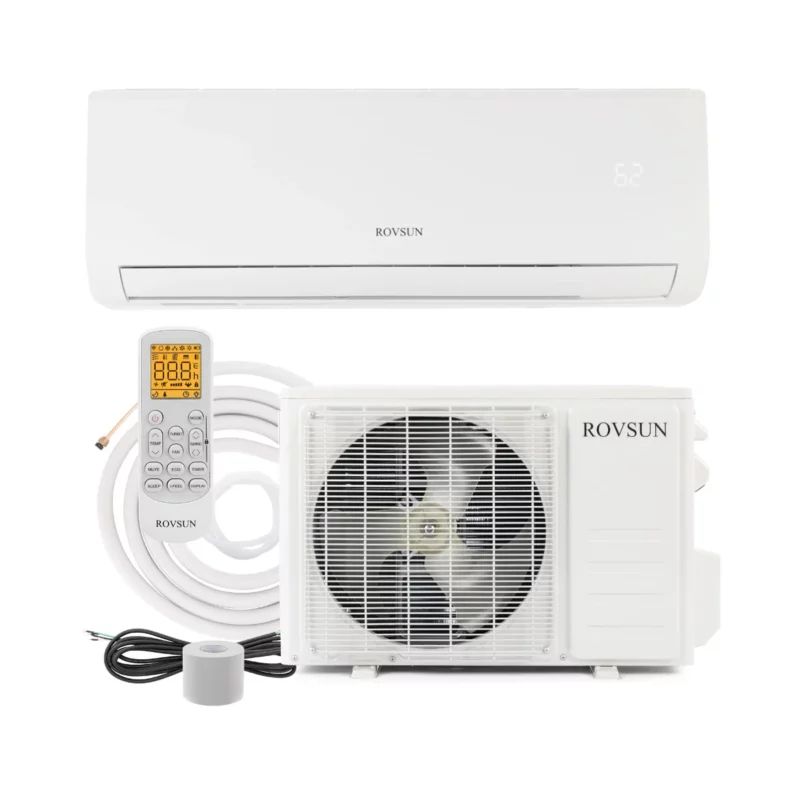
Capacity (115V): 9k, 12k
Efficiency: 19 SEER (Good)
Price Range: $550-600
Why Choose This: Lowest price
ROVSUN 9k and 12k mini splits are one of the cheapest mini splits on the market. They’ve just recently been available and I believe they use their price advantage to penetrate the market now. So, if you don’t mind the slightly reduced efficiency, this is a very affordable option.
MRCOOL DIY
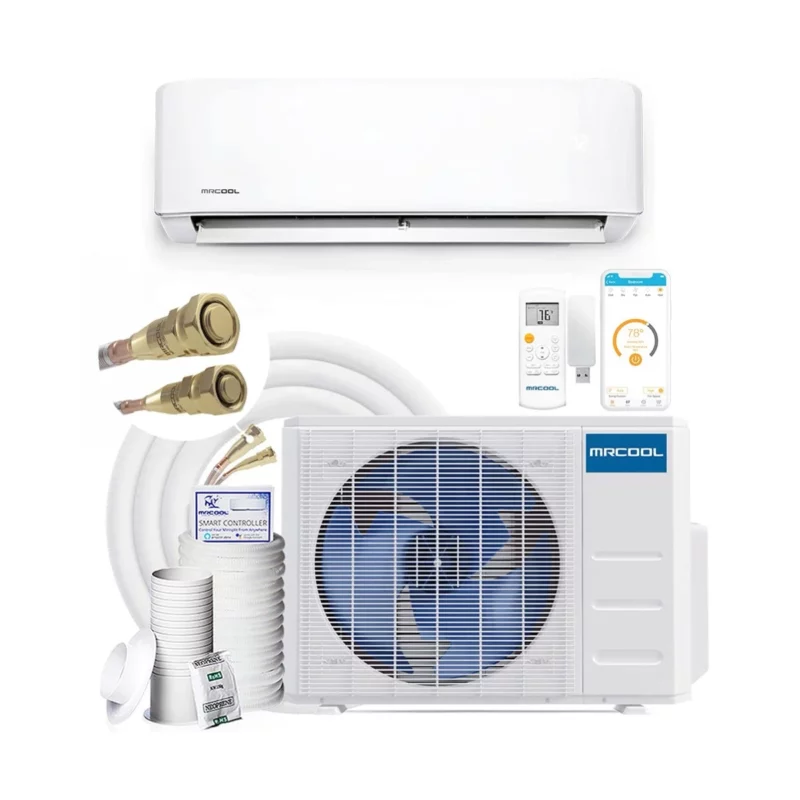
Capacity (115V): 12k only
Efficiency: 22 SEER (Good)
Price Range: $1,800-1,900
Why Choose This: DIY installation
MRCOOL is known for their DIY (do-it-yourself) mini splits. Their mini splits come with the necessary accessories and instructions for an easy DIY installation. However, they’re a little pricy but if you factor in the installation cost (if you hire a technician), this is perhaps the cheapest option.
Gree LIVO+

Capacity (115V): 9k, 12k
Efficiency: 16 SEER (Low)
Price Range: $1,100-1,300
Why Choose This: Low ambient heating
Gree LIVO+ is a series designed for low ambient heating. For the 115V version, the 9k and 12k model has a maximum heating capacity of 4989 BTU and 7120 BTU respectively at -4°F (-20°C) outdoor temperature. This is the most affordable mini split that does well in low ambient heating.
More Information about Mini Splits
Here are more information about mini split systems.
Mini Split Controller
All mini splits are controlled by a remote controller. Manual control is possible at the indoor unit in case a reset is needed or the remote controller is lost but depending on the brand and model.
The remote controller can also be used to determine error codes which allow you to identify the root cause and do the repair work. Also, it is powered by standard batteries.
Mini splits have many modes and functions which you can activate it using a remote controller. Read more about it from my post on all of the mini split air conditioner modes where I explained each of their purpose and usage.
Energy Efficiency Rating
Mini split is a high-energy-efficient air conditioning system. According to Energy Star, mini splits use 60% less energy for heating and 30% less energy for cooling when compared to other room air conditioners.
While most mini splits have a standard energy rating of around 20 SEER, some premium models have an energy efficiency rating as high as 26 SEER.
Seasonal energy efficiency ratio (SEER) is the measurement of the cooling output versus the input power of an air conditioner. The higher the ratio, the better the efficiency and thus, the lower the power consumption.
Average Weight
A typical 12000 BTU mini split weighs around 20 lbs for the indoor unit and about 60-70 lbs for the outdoor unit depending on brand and model. The bigger the capacity, the heavier the mini split.
Average Noise
A standard mini split creates about 20-25 dB of noise at the indoor unit and around 45-50 dB of noise at the outdoor unit. Some mini splits are noisier but all of them are generally considered as very quiet.
Inside an RV with the mini split run at low fan speed, you can whisper to each other. When a mini split runs at high fan speed, you still can have a normal conversation without having to yell at all.
As for the outdoor unit, when it starts to run, it is quite noisy if you are near. After about 15 minutes, it will ramp down and so, the noise will be reduced significantly. You will have no problem sleeping near the outdoor unit.
In addition, having a mini split outdoor unit outside your RV mostly won’t disturb the people in other RVs in the park.
Refrigerant Type
Mini splits come with a pre-charged refrigerant. Most mini splits sold today are using R-410A refrigerant and this kind of refrigerant is harmless to humans but inhaling concentrated R-410A refrigerant is fatal.
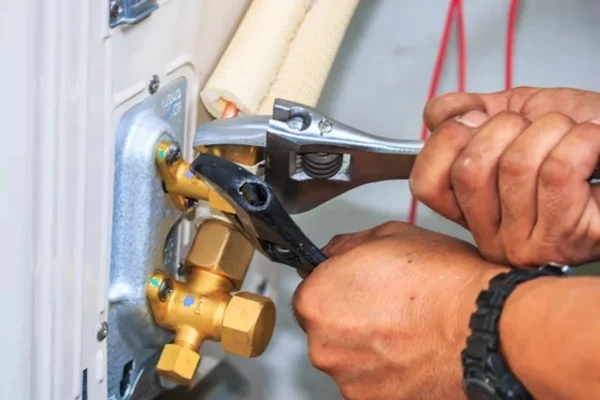
The R-410A refrigerant is stored inside the outdoor unit. After you’ve done installing it, open the refrigerant ports using an Allen key to release the refrigerant to the copper line and the indoor unit.
On a side note, if you ever have a leak, the R-410A cannot be charged without first vacuuming out all of the remaining R-410A refrigerants because the R-410A is made of a mixture and the ratio must be correct in order for the mini split to work properly.
Mini Split Placement in RVs
It is very challenging to install a mini split in an RV, especially for smaller RVs. Big RVs usually have no problem finding a spot for the mini split indoor unit, but installing the outdoor unit may be challenging too.
Nevertheless, there are two important things to make sure you get right during the installation; a) space above the indoor unit and b) space behind the outdoor unit. Both are the space for return airflow.
While mini splits in standard homes have good space clearance accounts for easy maintenance, RVs don’t have the luxury space. Thus, maintenance is difficult but possible.
For RVs, the mini split indoor unit should have at least 2″ of space clearance at the top. For the outdoor unit, it should have at least 2″ of space clearance at the back.
These are the minimum requirement for most mini splits to ensure there is space for return airflow so that the mini split will not trip. Obviously, if you have more space, give more clearance to improve the performance. Read more about mini splits placement from my post.
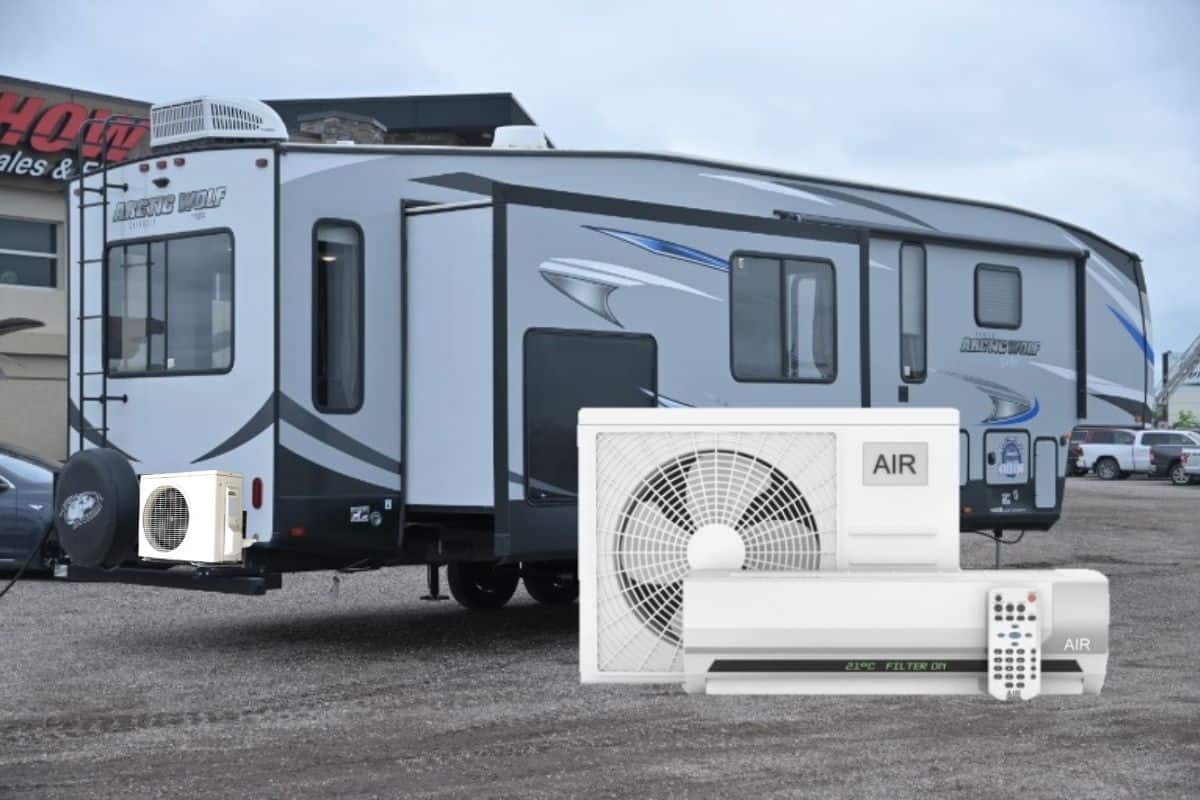
Following I’ll show you an example of a mini split place in a fifth-wheel RV.
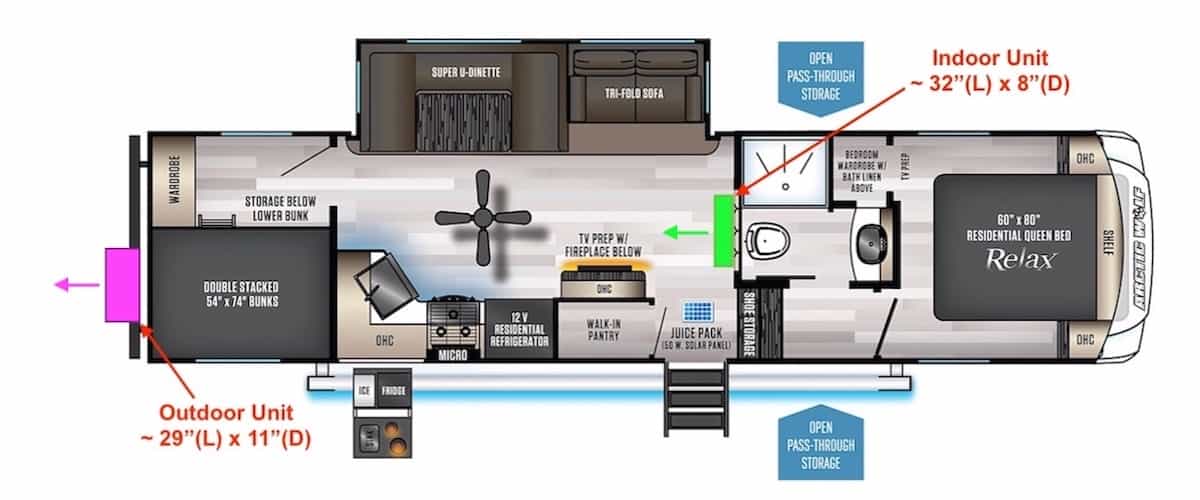
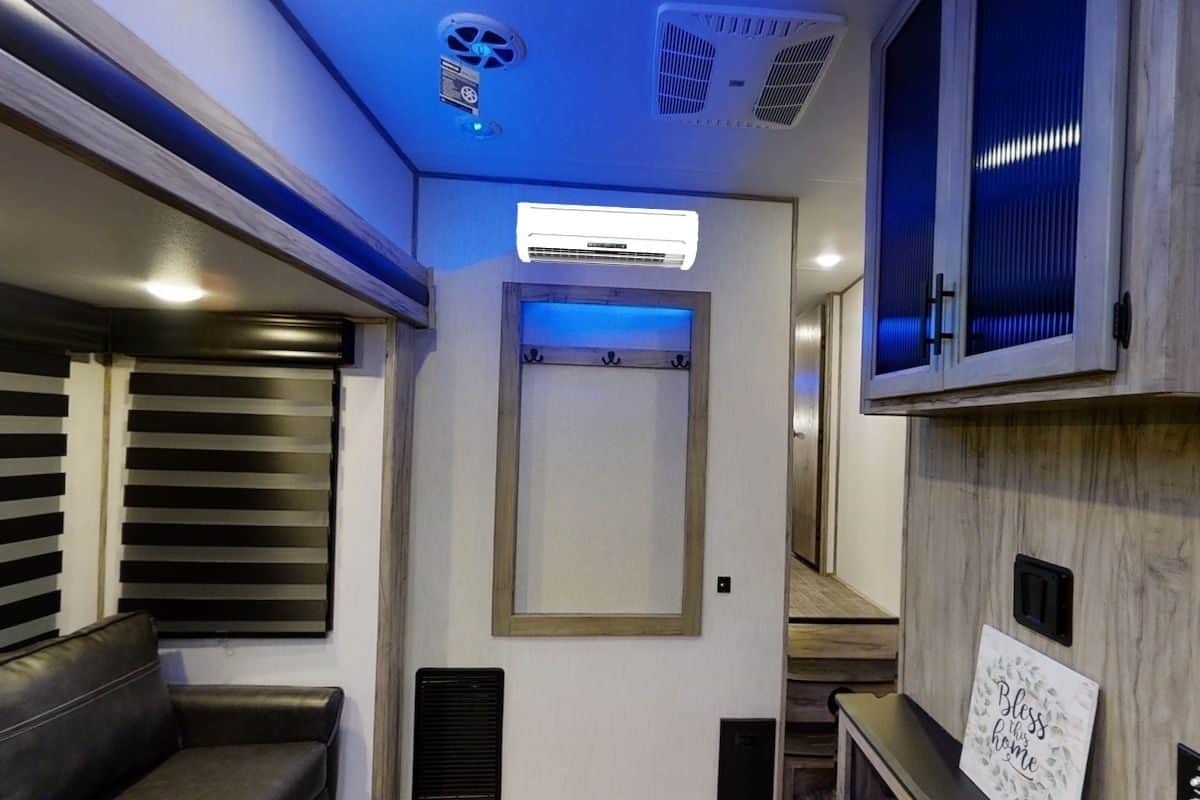
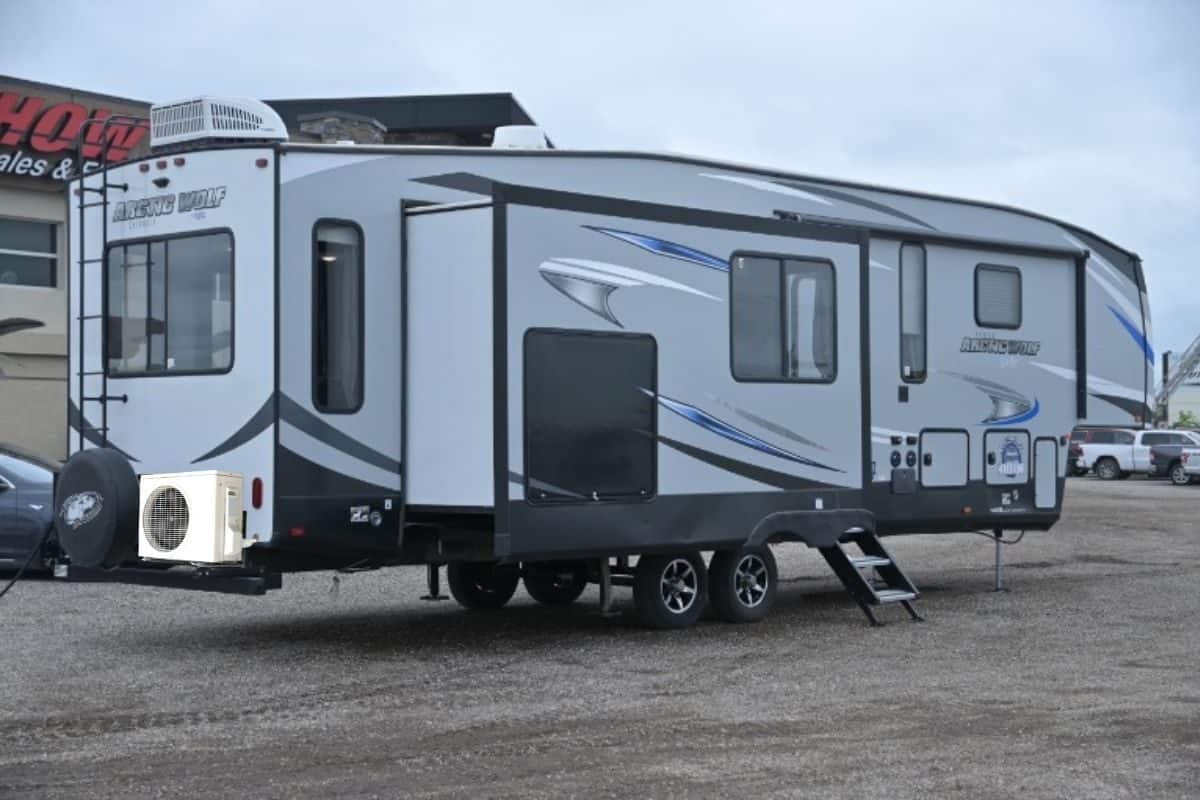
Above illustration, I scaled the virtual mini split as close to the real size as I can for a more realistic demonstration. Anyway, there are quite a few people who have done installing a mini split in their RVs. Here is a table of resources:
| RV Type | Information | Link to YouTube Video |
|---|---|---|
| Travel Trailer | General placement and electrical work | T&N Services LCC |
| Camper | Cabinet modification for the indoor unit | RV Living Yet |
| Class C | Mini split basics and completed work | Gone Boondocking |
| Class A | Extensive modification for the outdoor unit | Sky Management |
| Fifth Wheel | DIY installation & modification | I Bought a RV |
Conclusion
A mini split is a great alternative heating and cooling solution for RVs with little to no noise compared to the built-in air conditioner. Many RVers are getting a mini split to replace the noisy RV air conditioner.
Mini splits are an excellent air conditioner. They are widely used in homes and buildings around the world.
However, installing a mini split in an RV is very challenging. A lot of modification work is needed. However, there are many resources out there that you can refer to and follow.
Here, I’ve covered the basics of mini splits and the selection guide specifically for RVs. In most cases, a 110-120V 12000 BTU mini split is the best for an RV.
Lastly, consider my Mini Split (eBook) if you want to know how can you use Mini Split in your house. If you still have doubt or not feeling confident enough, feel free to consult me.
Consultation Service
Ask me for HVAC advice such as brand selection, best model, benefits, features, placement, duct size, grille size, how to design, design check, verification and other HVAC related queries.


