Mini Split R410A Refrigerant Working and Test Pressure
Mini splits require the refrigerant or freon to operate and they operate at a certain range of pressure. Some people charge the refrigerant of their mini splits by themselves and thus, they are wondering what should R410A mini split pressure be?
The low side pressure of a typical R410A mini split is between 110-140 psi depending on the operating conditions. Though it can vary, the low side pressure of a mini split should not fall below 100 psi or raise beyond 160 psi.
The working pressure of mini splits is depending on factors such as the weather and cooling load. Hence, it is important that we understand the fundamentals behind the working pressure of a mini split.
What Should R410A Mini Split Pressure Be?
Most mini splits today are using the R410A refrigerant. So, they should be operating in between 110-140 psi of pressure on the low side (cooling mode). Most of the time, we don’t measure the high side pressure.
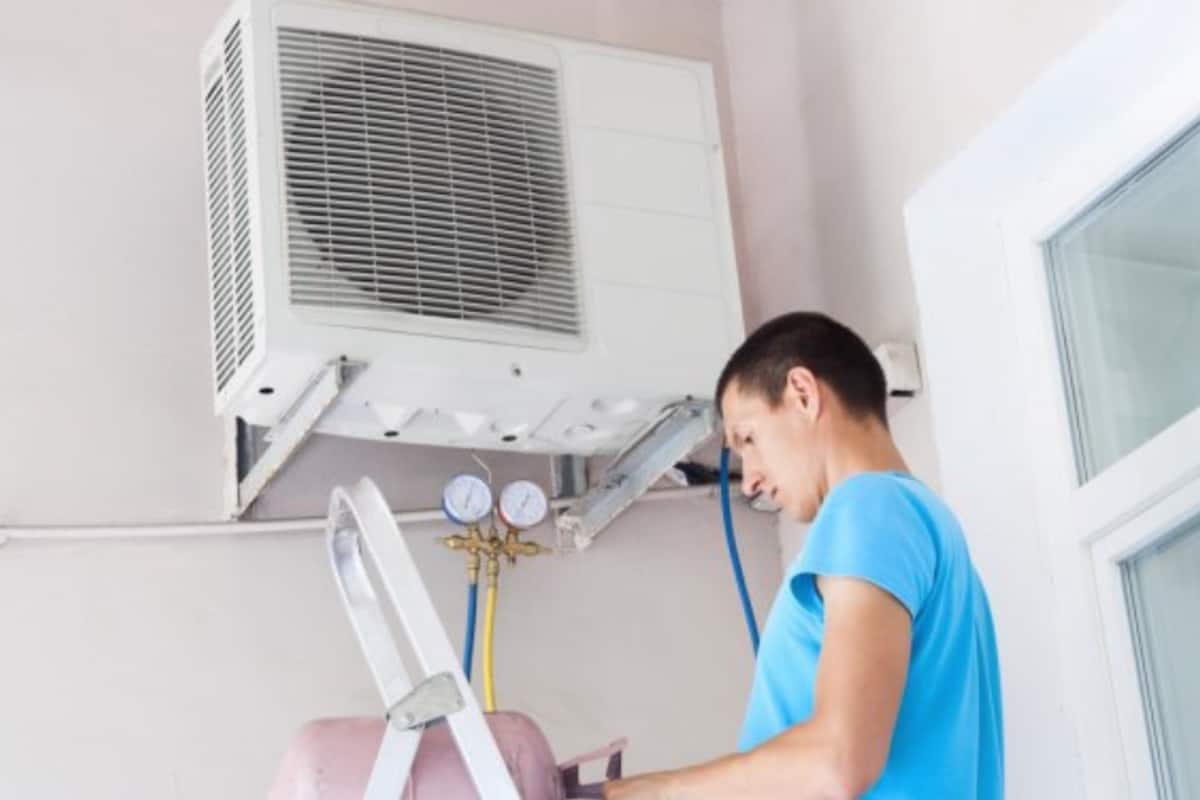
The low side pressure is the pressure of the refrigerant running inside the suction line. It is the pressure of the refrigerant before the compressor. Hence, low side pressure is also known as suction pressure. This is also the service port that you use to charge the mini split.
See how mini splits are charged in my post about the methods and procedures to charge mini split. I specially included the “charge by pressure” method practiced by many technicians.
On the other hand, the high side pressure is the pressure of the refrigerant running inside the discharge line. it is the pressure of the refrigerant after the compressor.
Nonetheless, the low side pressure of R410A mini splits should never fall below 100 psi or raise beyond 160 psi under most circumstances.
At 100 psi, the temperature of the R410A refrigerant is at 32°F (0°C) or freezing point of water. Hence, the surface temperature of the cooling coil will also be near the freezing point thereby causing the air passing through the cooling coil to freeze up.
When the cooling coil is frozen, its heat exchange capability drops and thus, further decreases the low side pressure and eventually causes the mini split to trip due to low pressure.
On the other hand, the temperature of the R410A refrigerant is at 57°F (14°C) when the low side pressure is at 160 psi. Hence, the surface temperature of the cooling coil will also be about 57°F (14°C) which is very close to the dew point of air at dry bulb 77°F (25°C) and RH 55% which is 61°F (16°C).
While approaching the dew point temperature, the dehumidification capability of the mini split drops, potentially causing high humidity problems.
Furthermore, as the surface temperature of the cooling coil is around 57°F (14°C), the supply air will also be around the same temperature which is considered high and possibly causing insufficient cooling.
The low side pressure of every mini split changes differently depending on the mini split model. Below is an example of the relationship between indoor/outdoor temperatures and the low side pressure (suction pressure) of a mini split:
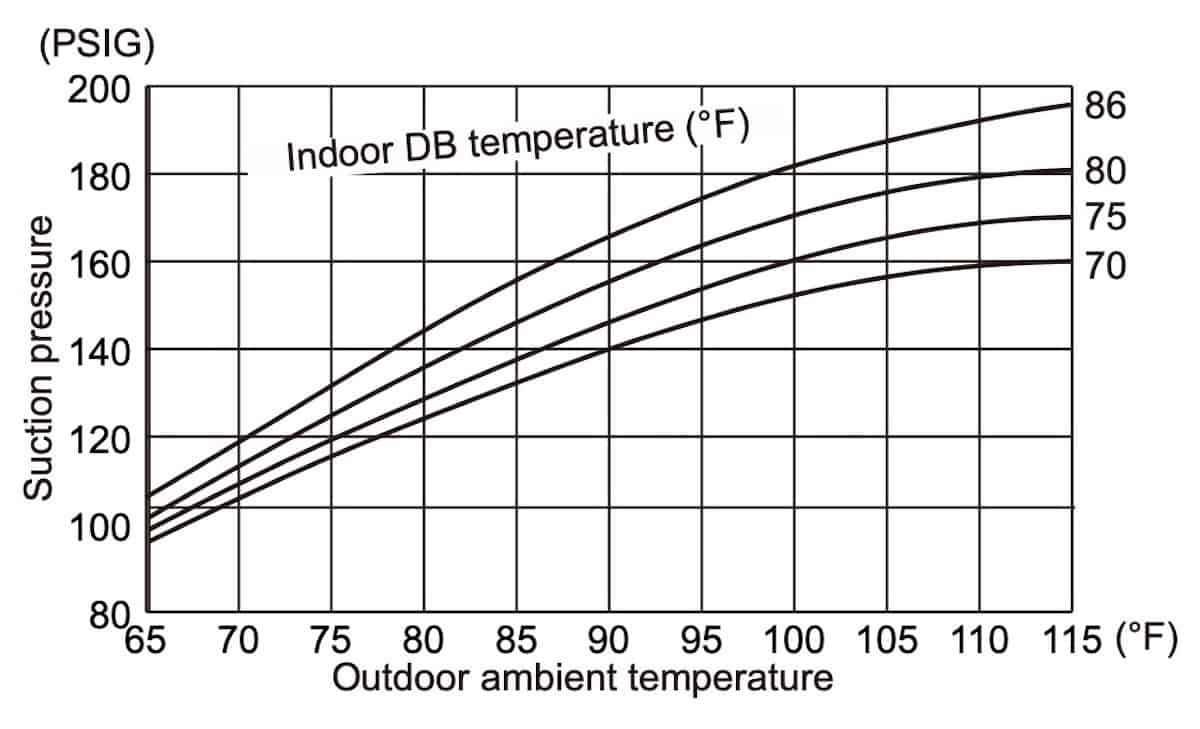
As you can see from the above graph, the low side pressure (suction pressure) of a mini split changes based on the indoor/outdoor temperatures.
Assume a hot day with an outdoor temperature of 95°F (35°C), if the low side pressure exceed 160 psi, the indoor temperature will be around 80-86°F (27-30°C) which is not the comfortable temperature that you want.
R410A Mini Split Pressure in Heat Mode
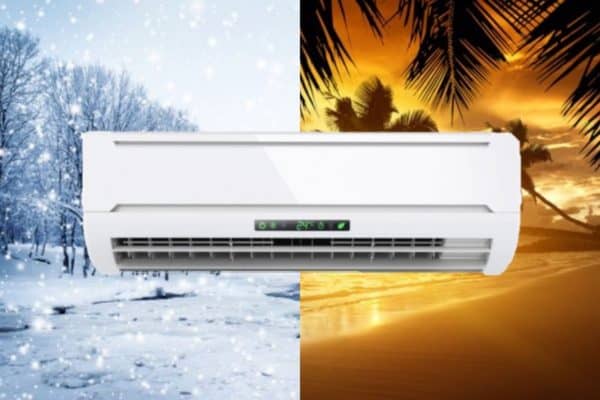
The above pressure range is applicable to R410A mini splits in cool mode. When a mini split switches to heat mode, the refrigeration process reversed and the working pressure changes.
As the refrigeration process reversed, the same port that you used to measure the low side pressure is now the high side pressure. High side pressure is also known as the condensing pressure.
When operating in heat mode, the condensing pressure of a typical R410A mini split is between 250 psi and 400 psi depending on the operating conditions. The lower the outdoor temperature, the lower the condensing pressure and vice versa.
A mini split does not require to re-charge its refrigerant pressure when operating in different modes. The refrigerant pressure that you keep in cool mode should reflect correctly in heat mode.
An example of the R410A mini split pressure is as follows:
| R410A Mini Split | Cool Mode | Heat Mode |
|---|---|---|
| Low Side Pressure (Suction Pressure) | 110-140 psi | 70-140 psi |
| High Side Pressure (Condensing Pressure) | 300-350 psi | 250-400 psi |
The above pressure range is based on the following operating conditions
- Indoor Temperature: 70°F to 75°F (21°C to 24°C)
- Summer Outdoor Temperature: 80°F to 100°F (27°C to 38°C)
- Winter Outdoor Temperature: 5°F to 55°F (-15°C to 13°C)
In most cases, you only has one port to check the refrigerant pressure of a mini split. In cool mode, the pressure reading should be around 110-140 psi and 250-400 psi in heat mode.
Although R410A mini splits generally run at similar pressure range, it is best to refer to the service manual of your particular mini split model to check the manufacturer’s recommended pressure. Else, get a professional to help with the refrigerant charge.
If you encounter any problems with mini split, particularly with the sizing, design and refrigerant pressure, you can consider my email consultation service where I can help you clear out any doubts.
Factors that Affect Mini Split Working Pressure
Mini splits adopt the refrigerant cycle. Naturally, the working pressure varies based on the operating condition. Below are the factors that affect mini split working pressure:
- Refrigerant type – If you have an R32 mini split, the working pressure will be slightly different.
- Outside air temperature – If the outside temperature is higher, the operating pressure is higher. (Learn why outside temperature affect air conditioners).
- Cooling load – If the cooling demand is higher, the operating pressure is higher.
- Fan performance – If the fan of mini splits deteriorated, less heat is dissipated thereby causing the operating pressure to raise.
- Dirty condenser coil – If the condenser coil is dirty, heat exchange is ineffective thereby causing the operating pressure to raise.
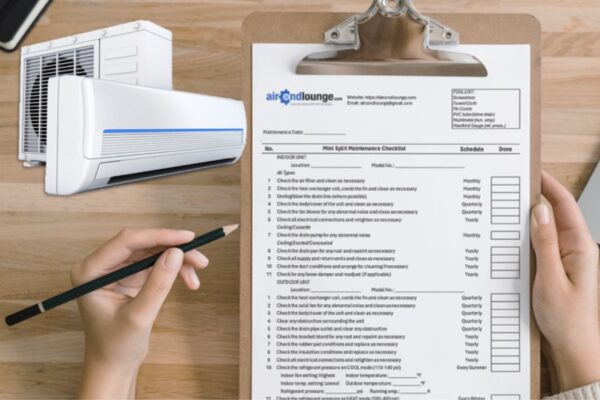
To ensure your mini split always work in the best condition, regular cleaning and maintenance work are needed. So, I recommend you also read my post about mini split maintenance and schedule to get a better idea.
Other than that, the working pressure of a mini split is also depends on the size or capacity of the mini split.
| Mini Split Size | Cool Mode (Suction Pressure) | Heat Mode (Condensing Pressure) |
|---|---|---|
| 6,000 BTU | 175 psi | 295 psi |
| 9,000 BTU | 152 psi | 295 psi |
| 12,000 BTU | 137 psi | 333 psi |
| 15,000 BTU | 139 psi | 363 psi |
| 18,000 BTU | 123 psi | 410 psi |
Notice that the bigger the mini split, the lower the suction pressure but the higher the condensing pressure. This is due to the heat exchanger size and airflow rate (CFM).
Regardless, the ultimate goal of different refrigerant pressures is to maintain a refrigerant temperature of around 55°F (13°C) in cool mode and 100°F (38°C) in heat mode at the indoor unit to ensure the mini split provides adequate cooling and heating.
How to Pressure Test a Mini Split?
Most of the time, you only need to pressure test the refrigerant lines or copper pipes that you’ve installed for the mini split instead of connecting the mini split and pressure test the entire system.
This is because most mini splits are factory-tested. Manufacturers should replace a new unit or make necessary rectification for free if you found that the internal pipes of the mini split is leaking.
In construction projects, we don’t pressure test any of the mini split itself. Instead, we bypass the mini splits and only pressure test the copper pipes using Nitrogen. It is so that when there are internal leakages, we have the evidence to claim for a full warranty.
But, if you’re going to pressure test the entire system, make sure to check the maximum or design pressure of the low and high sides. It is usually stated on the outdoor unit nameplate or written in the installation manual.
As a general rule, the pressure test should have a pressure of about 20% more than the expected working pressure. So, if a cooling-only R410A mini split is operating at below 160 psi of pressure, the pressure test should be around 190 psi.
However, we need to account for the high side pressure.
Usually, the high side pressure of an R410A mini split is between 300-350 psi. However, the maximum high side pressure could go up to about 450 psi, especially in hot and humid countries.
Even in cold and dry countries, inefficient heat transfer due to dirty filters and coils will increase the high side pressure. In heat mode, the highest pressure an R410A mini split can even reach to around 500 psi.
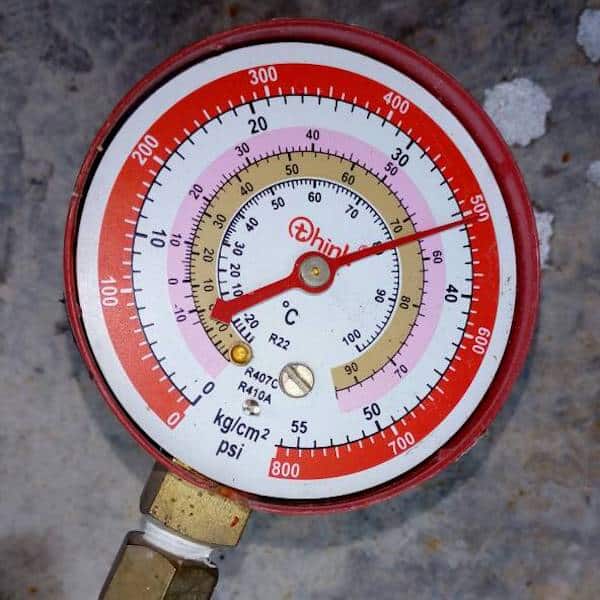
So, the pressure test of an R410A mini split should be around 500 psi with a maximum test pressure of 600 psi, subject to the safe working pressure of the copper pipes used. In addition, you should also check the installation manual to see what is the recommended test pressure.
“Pressurize the liquid pipe and gas pipe from the service ports of each stop valve to 604psi (4.17MPa) (do not pressurize more than 604psi (4.17MPa)) for 1 hour minimum, 24 hours recommended. If there is a pressure drop, check for leaks, make repairs and perform the pressure test again.”
from Daikin POLARA (R410A) Installation Manual M21B536
Although it is best to pressure test the copper pipes based on the highest working pressure of an R410A mini split, a lower pressure test of around 400 psi is more comfortable for most people.
Regardless, the copper pipe used for the installation should be able to withstand the high pressure test.
Copper Pipe Working Pressure
Different grades of copper pipes have different allowable working pressures. Following are three tables stating the working pressure of different types of copper pipes:
Type M Copper Pipe (ASTM B88)
| Pipe Diameter | Working Pressure (Annealed) | Working Pressure (Drawn) |
|---|---|---|
| 3/8″ | 465 psi | 855 psi |
| 1/2″ | 409 psi | 766 psi |
| 3/4″ | 334 psi | 625 psi |
| 1″ | 284 psi | 532 psi |
| 1-1/4″ | 279 psi | 522 psi |
| 1-1/2″ | 275 psi | 516 psi |
| 2″ | 249 psi | 467 psi |
Type L Copper Pipe (ASTM B88)
| Pipe Diameter | Working Pressure (Annealed) | Working Pressure (Drawn) |
|---|---|---|
| 1/4″ | 730 psi | 1368 psi |
| 3/8″ | 638 psi | 1197 psi |
| 1/2″ | 584 psi | 1094 psi |
| 5/8″ | 511 psi | 958 psi |
| 3/4″ | 469 psi | 879 psi |
| 1″ | 405 psi | 760 psi |
| 1-1/4″ | 365 psi | 684 psi |
| 1-1/2″ | 337 psi | 631 psi |
| 2″ | 300 psi | 573 psi |
Type K Copper Pipe (ASTM B88)
| Pipe Diameter | Working Pressure (Annealed) | Working Pressure (Drawn) |
|---|---|---|
| 1/4″ | 851 psi | 1596 psi |
| 3/8″ | 894 psi | 1676 psi |
| 1/2″ | 715 psi | 1341 psi |
| 5/8″ | 596 psi | 1117 psi |
| 3/4″ | 677 psi | 1270 psi |
| 1″ | 527 psi | 988 psi |
| 1-1/4″ | 431 psi | 808 psi |
| 1-1/2″ | 404 psi | 758 psi |
| 2″ | 356 psi | 668 psi |
A typical 9000 BTU mini split needs 1/4″ and 3/8″ copper pipes for its liquid line and gas line respectively. If you choose to use the more common type L copper pipes, you’ll notice that it is much easier to find the annealed type (comes in roll form) than drawn type (straight pipe) at 1/4″ and 3/8″ pipe size.
The limit of the pressure test is depending on the type and size of copper pipes you use for the mini split. For instance, type L annealed copper pipes at 1/4″ and 3/8″ have a working pressure of 730 psi and 638 psi respectively.
In this case, you are safe to do the pressure test at 600 psi.
Performing a higher pressure test can better minimize the chances of having a refrigerant leak.
Sometimes, improper brazing work may not cause a leak during normal days when the mini split working pressure is low. However, during hot days plus a few months later where the mini split got a bit dirty, the poor brazing point may give off due to the higher working pressure.
In my past construction projects, we mostly pressure test the copper pipes at around 300 psi because in Malaysia, our mini splits don’t have a heat mode and the outdoor temperature is fairly consistent at around 90°F (32°C). Thus, the working pressure for the unit here is around 300 psi.
However, in certain applications, for instance VRF system (see what is a VRF system and how does it compare to mini split), we need to pressure test R410A units up to 500 psi. We keep the pressure at 500 psi for 24 hours to make sure the copper pipes have no leak.
If you have anything to add (or ask) about this topic, leave a comment down below!


